Mapping Wifi Networks on Google Maps with Kismet
The purpose of this post is to use the Kismet software and use a USB Wireless adapter and a USB GPS Receiver in order to obtain information on surrounding wireless networks.
The collected data will be translated into CSV file using a small Python program and then display them on Google Maps.
1. Requirements
1.1 OS
- Kali Linux : Download it here
- Kismet (already installed on Kali)
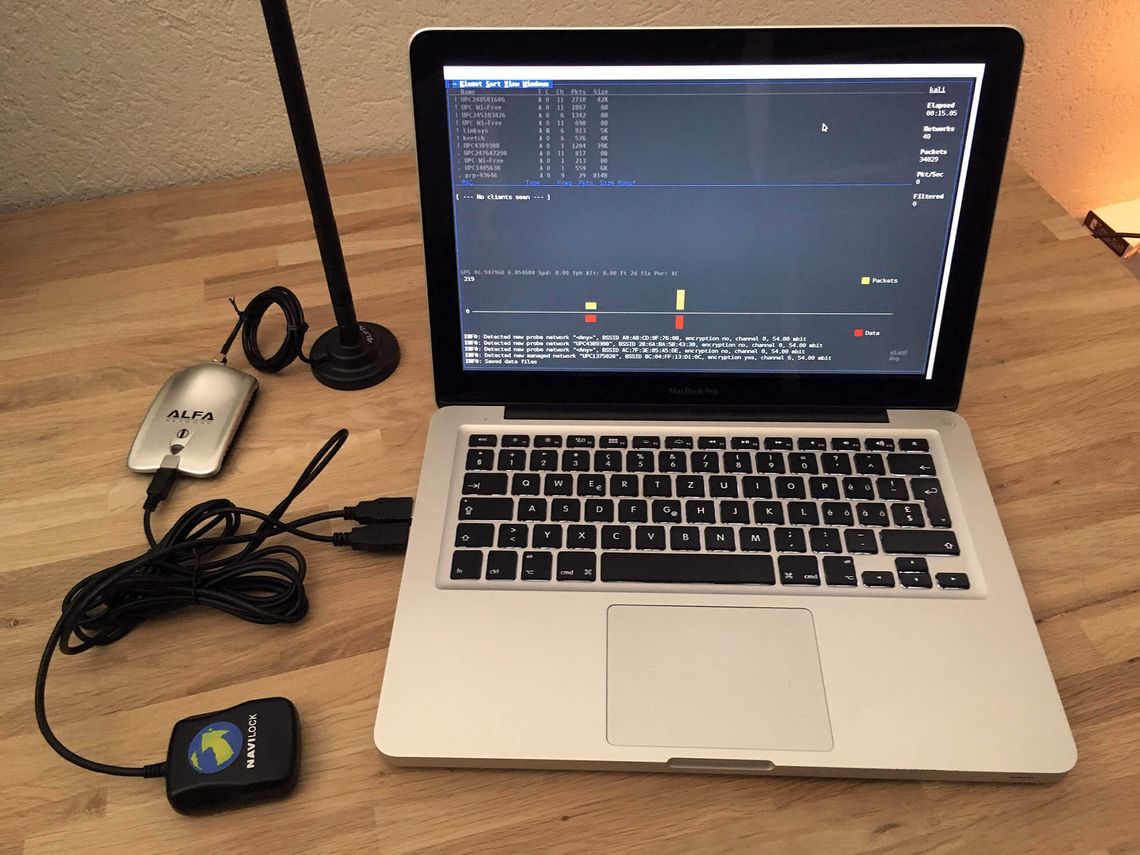
1.2 Hardware
- I bought a great Alfa AWUS036H with a 9dBi Rubber Antenna. This USB adapter use a RTL8187 Driver (Realtek) which is already in Kali kernel. Buy it on Amazon
- An old Navilock NL-202U USB GPS Receiver. But any other USB GPS Receiver will work too.
2. Installations
2.1 USB Wireless Adapters
The Alfa AWUS036H work with an RTL8187 driver. The RTL8187 drivers provide support for 802.11a/b/g wireless chipsets from Realtek.
Kismet support raw monitoring mode. When you plug your USB Wireless Adapters, it will automatically mode as "Managed". Kismet website
2.1.1 Interfaces Modes
There are 6 different modes :
- Monitor
- Managed
- Master
- Ad-hoc
- Mesh
- Repeater
Interfaces in Managed Mode are considered clients or stations and are the devices connected to an access point.
Interfaces in Monitor Mode allow you to monitor all traffic received from the wireless network. (aka sniffing mode)
So what we want si to set our Card from Managed mode to Monitor mode.
2.1.2 Managed mode to Monitor mode
1. Start Kali Linux
2. Plug your Wifi card
3. Open a terminal and write :
dmesg
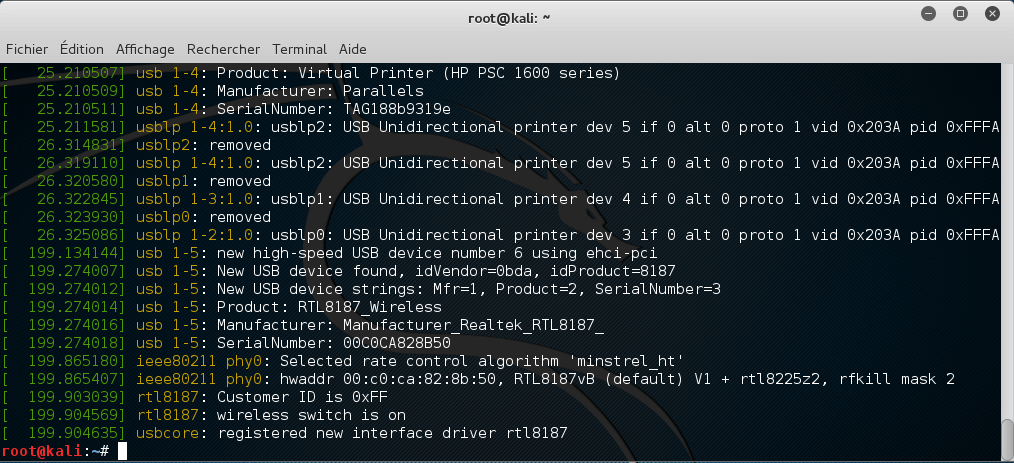
As you can see, Alfa card use RTL8187 driver.
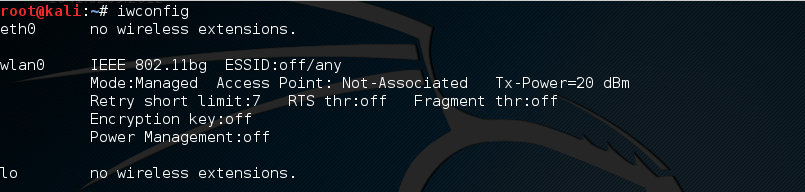
4. Now let's see in which mode the card is :
sudo iwconfig
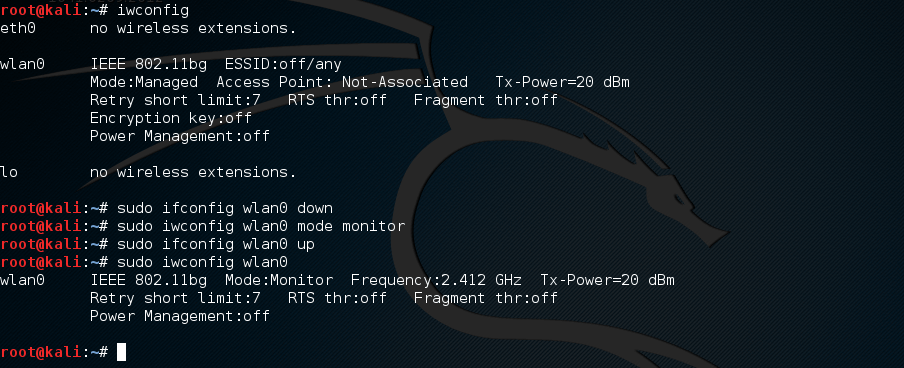
5. Change the interface from Managed mode to Monitor mode
sudo ifconfig wlan0 down
sudo iwconfig wlan0 mode monitor
sudo ifconfig wlan0 up
sudo iwconfig wlan0
Good ! Now let's connect the GPS USB Receiver.
2.2 GPS USB Receiver
As I said, I use an old GPS Receiver which use a PL2303 USB-Serial driver.
PL2303 is included in Linux kernels 2.6.11 and later. These have support for the Prolific 2303 chipset, and recognize the plug and play IDs of the Plugable adapter.
2.2.1 Installation
1. Plug your USB Receiver
2. Open a terminal and write :
dmesg
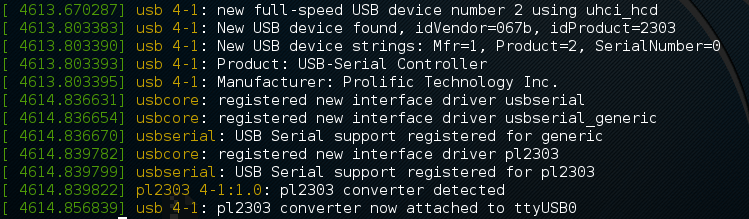
Your GPS is using pl2303 driver and attached as ttyUSB0
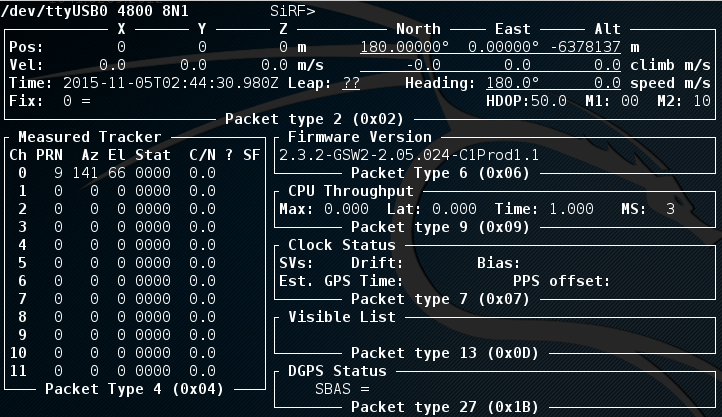
3. To see if you're receiving data from your GPS, write this on your terminal :
gpsmon /dev/ttyUSB0
4. Install GPSd
To make it work with Kismet, we have to use the service GPSd to monitor it. Link to GPSd
sudo apt-get install gpsd gpsd-clients
4. Start GPSd
Before to write the next command, open a new terminal.
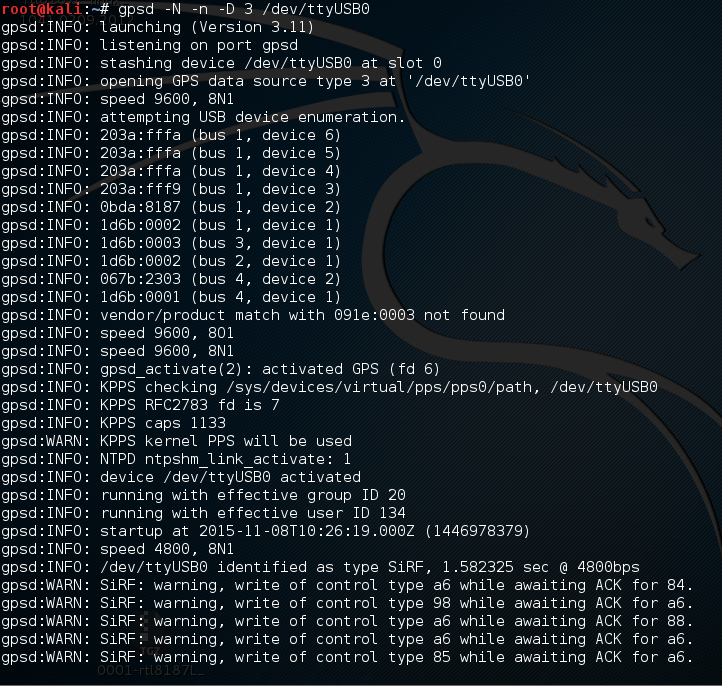
gpsd -N -n -D 3 /dev/ttyUSB0
-
-N : Don't daemonize; run in foreground. This switch is mainly useful for debugging.
-
-n : Don't wait for a client to connect before polling whatever GPS is associated with it.
-
-D 3 : Set debug level.
Don't close the window! You have to let it run.
5. Edit GPSd default settings
sudo nano /etc/default/gpsd# Default settings for the gpsd init script and the hotplug wrapper.
# Start the gpsd daemon automatically at boot time
START_DAEMON="true"
# Use USB hotplugging to add new USB devices automatically to the daemon
USBAUTO="false"
# Devices gpsd should collect to at boot time.
# They need to be read/writeable, either by user gpsd or the group dialout.
DEVICES="/dev/ttyUSB0"
# Other options you want to pass to gpsd
GPSD_OPTIONS="-N -n -D 3"
Change the following things :
- START_DAEMON to true
- USBAUTO to false
- DEVICES to "/dev/ttyUSB0"
- GPSD_OPTIONS to "-N -n -D 3"
Troubleshooting
After a reboot, if you start your GPSd again, this error can appear :
gpsd:INFO: launching (Version 3.6)
gpsd:ERROR: can’t bind to IPv4 port gpsd, Address already in use
gpsd:ERROR: maybe gpsd is already running!
gpsd:ERROR: can’t bind to IPv6 port gpsd, Address already in use
gpsd:ERROR: maybe gpsd is already running!
This append when you don't change GPSd settings! See previous point.
If it does not resolve the problem. You can also do this:
sudo apt-get --purge remove gpsd gpsd-clients
sudo apt-get install gpsd gpsd-clients
And the edit gpsd settings file.
3. Kismet
1. Start Kismet
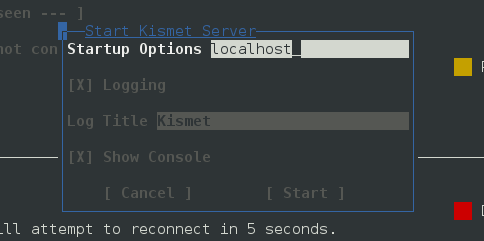
kismet2. It will ask you to start Kismet Server. You click on YES
3. Enter localhost in Startup Options and click on Start
4. A new windows will appear. Click on Close console window
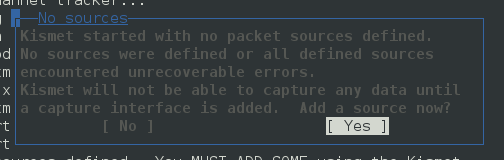
5. A new windows will appear again and ask you to add a new packet source. Obviously you have to click on YES
6. In Intf (interface) write your wireless interface :
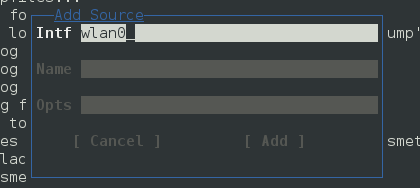
7. That's it! Now you can start collecting data!
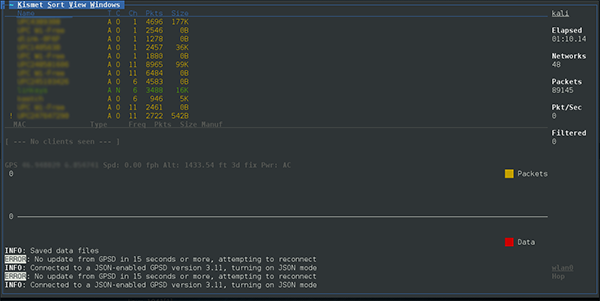
4. Display your data on Google Maps
4.1 Convert your file
After getting some data, your going to use my script to convert your NetXML file to CSV file. Google Maps can import CSV file.
This script will import ESSID, MAC address, encryption type, latitude and longitude.
You can download it on GitHub : Clone it on Github
git clone https://github.com/MichaelCaraccio/NetXML-to-CSV.gitThen you can convert your .netxml file into csv :
Convert every network into a csv file :
python3 main.py file.netxml result.csvConvert only WEP encryption networks :
python3 main.py file.netxml result.csv WEPConvert only WPA+AES-CCM encryption networks :
python3 main.py file.netxml result.csv WPA+AES-CCM4.2 Display it on Google Maps
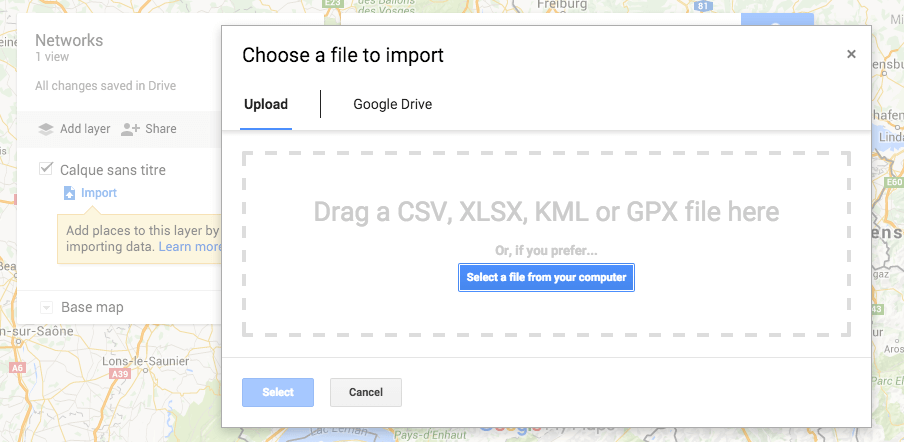
Open Google Maps : https://www.google.com/maps/d/
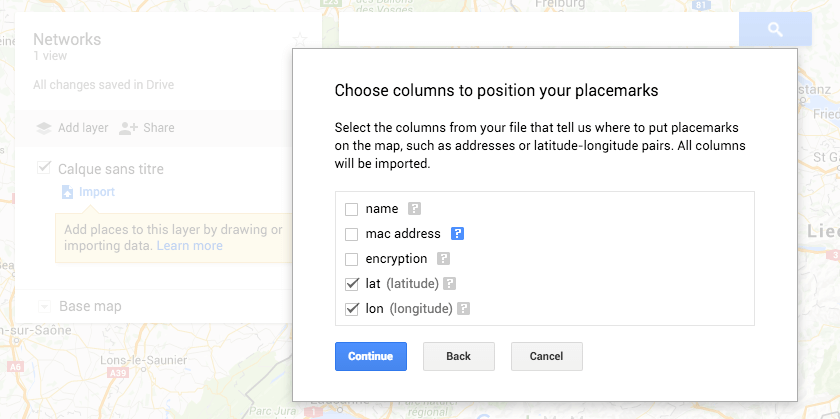
1. Click on import and upload your csv file
2. Select your coordinates
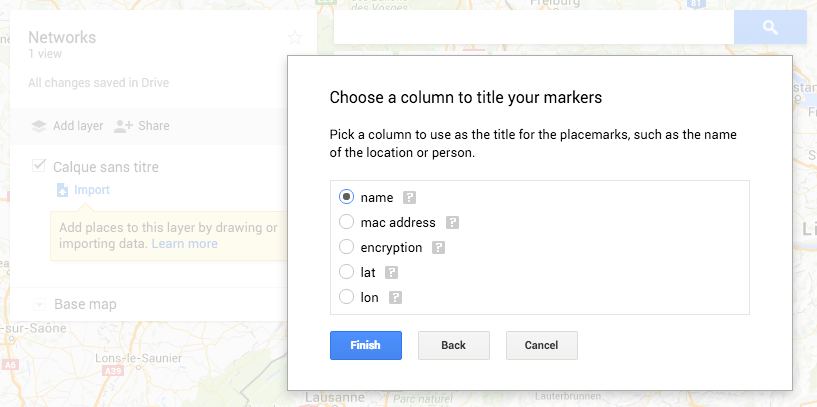
3. Choose a name to title the markers
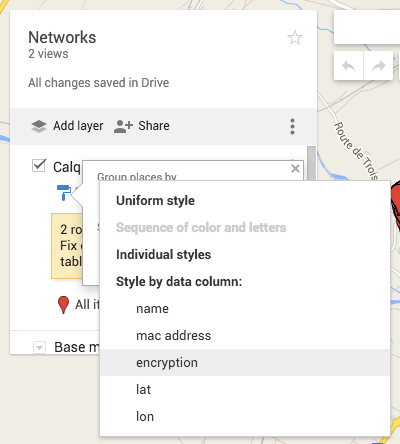
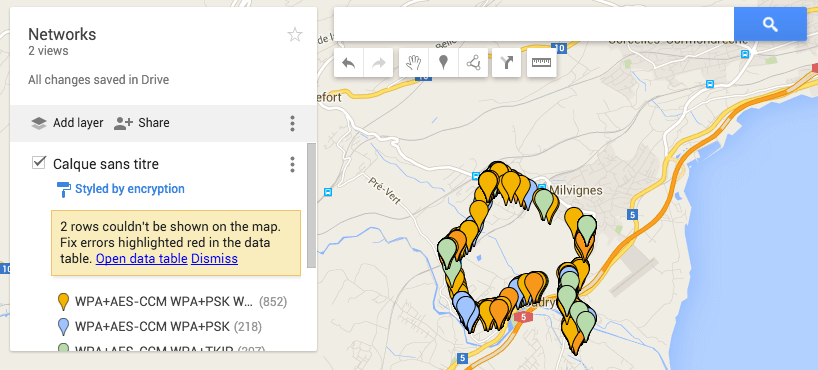
4. You can set a color per encryption type
5. And voila !
Member discussion